One great advantage of transitioning from paper to digital is that photos and documents are less prone to physical damage. If a physical image does get damaged, however, there are powerful tools that enable people to repair them digitally. These tools have become an important method for digital humanists to salvage information from damaged sources. Outside of academics, these tools also serve to preserve and repair personal items. During the 2011 Tohoku Earthquake and Tsunami in Japan, a lot of houses and buildings were submerged in water, washing away documents and photos along with the waves. A photographer formed a volunteer group to collect these damaged photos and repair them digitally in order to bring the photos back to the owners. This was the first time that I heard about this digital technique, and after a few photography classes at Carleton, I learned to do it on my own.
I tore apart a photo that I had in my room to demonstrate how it works. In reality, the colors of the photos would be faded away or would be missing some pieces. This is an easier example using an “ideally” damaged photo.
Step 1: Preparing the photo to repair
Collect the pieces of the photos and piece them together like working on a jigsaw puzzle.
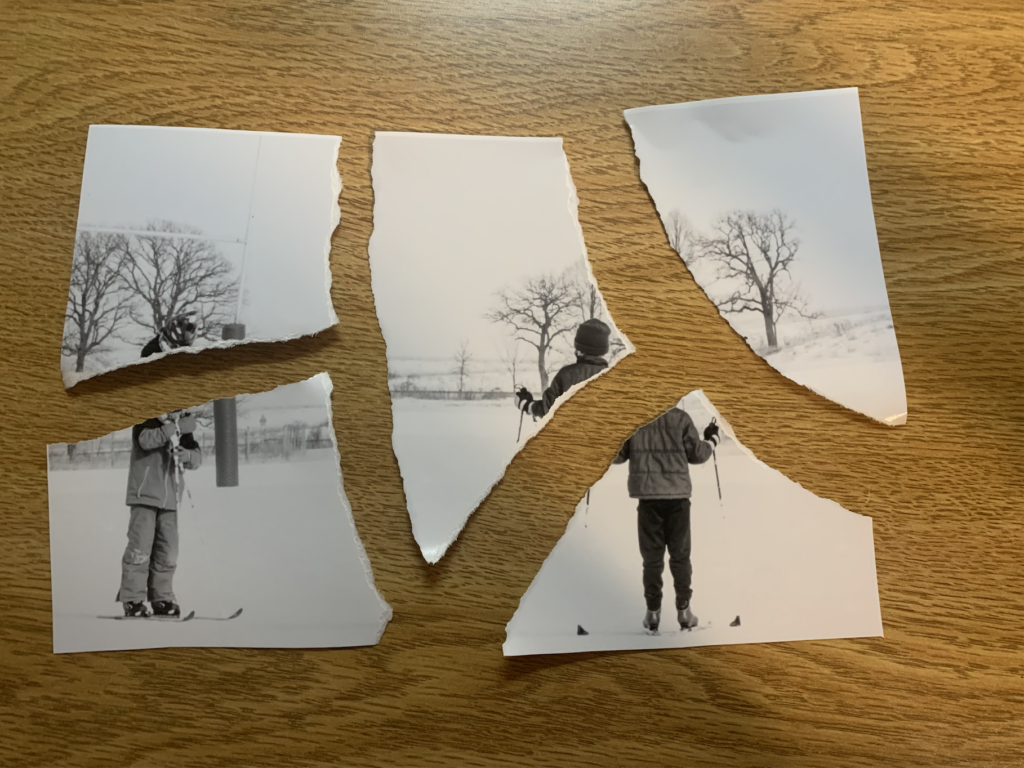
Step 2: Open the photo in photoshop
Step 3: Duplicate the original photo as layers
You can duplicate layers by right-clicking on the layer panel (bottom left) and choose the “duplicate layer” option. Then, a screen will appear asking you to type in a name for the layer. Each individual piece would later be in its own layer, so the number of layers that you duplicate should match the number of pieces that you have. In this case, I duplicated the original photo 5 times.
Step 4: Use the Lasso Tool to crop out individual pieces
I chose the magnetic lasso tool, but any tool works fine and there are many other ways that people do this part.
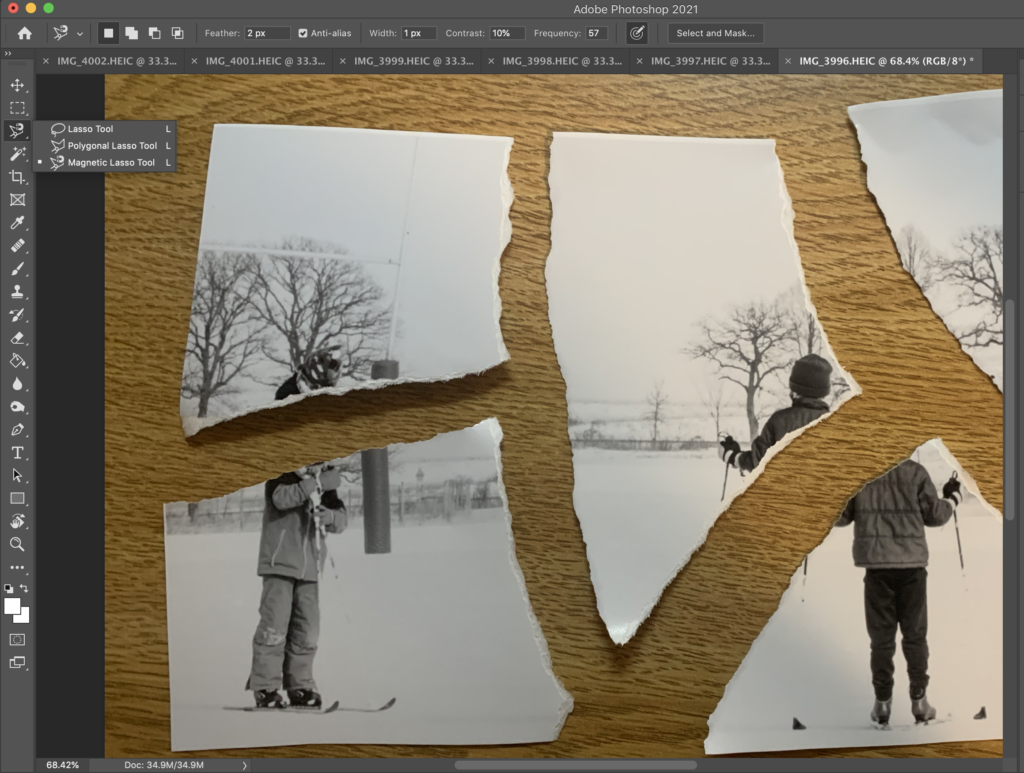
On one of the layers, follow the edges and surround one piece with the dotted lines.
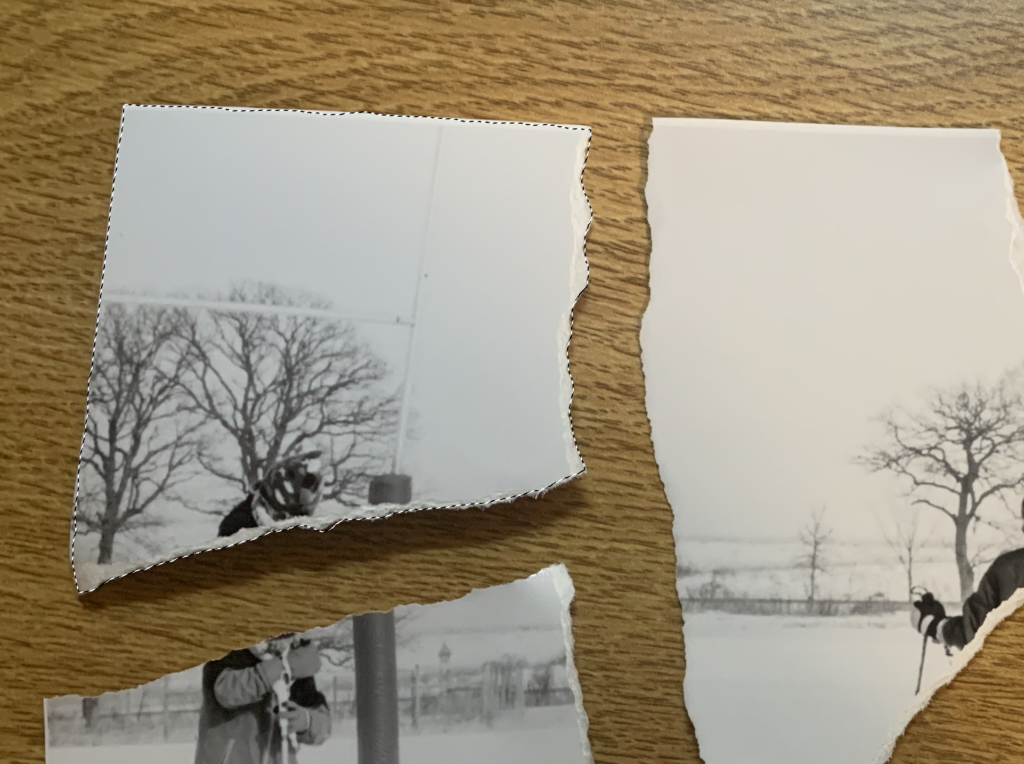
Go to “Select” in your window and click on “Inverse.” This will inverse the selection that you made so that when you click “delete” in your keyboard, it deletes everything except for the piece that you cropped out with the lasso tool.

The background should look like this after clicking on “delete.”
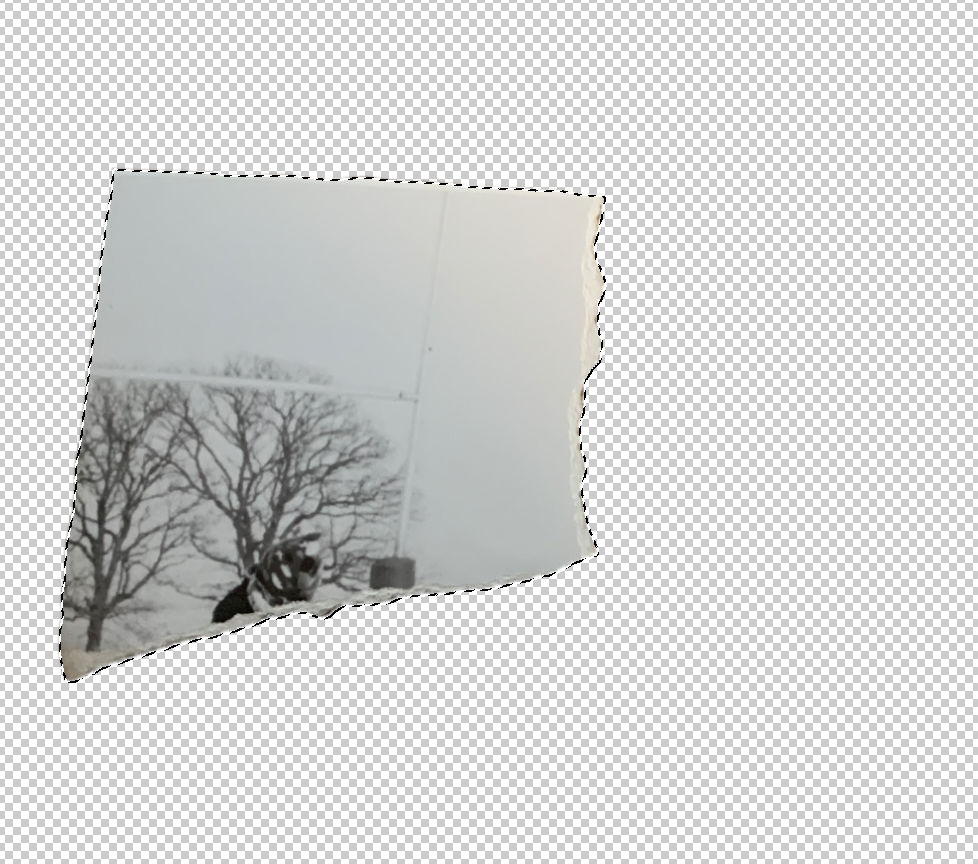
Select another layer and repeat this for all of the layers for each piece. After working on all of the layers, you should have each piece on different layers with the background erased.
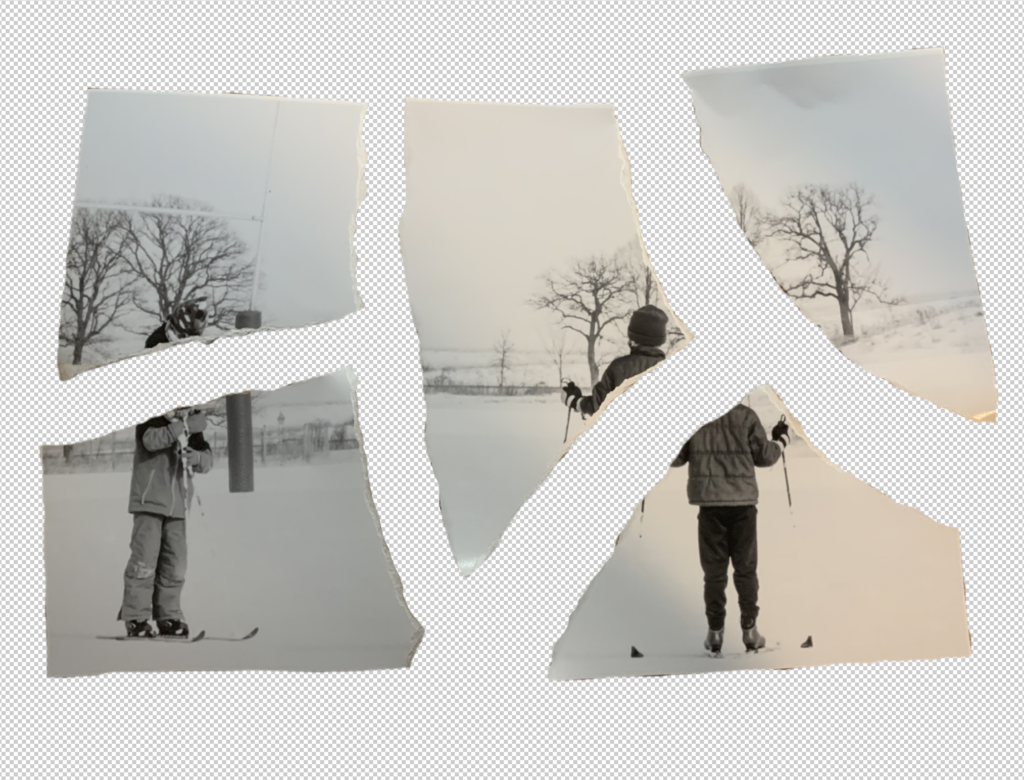
Step 3: Piecing together the pieces
Move each layer so that the edges are touching each other. This step would be easier the more precise you were doing the lasso step, so if there are any backgrounds remaining near the edges of each photo piece, use the lasso tool or the eraser tool to get clear and refined edges.
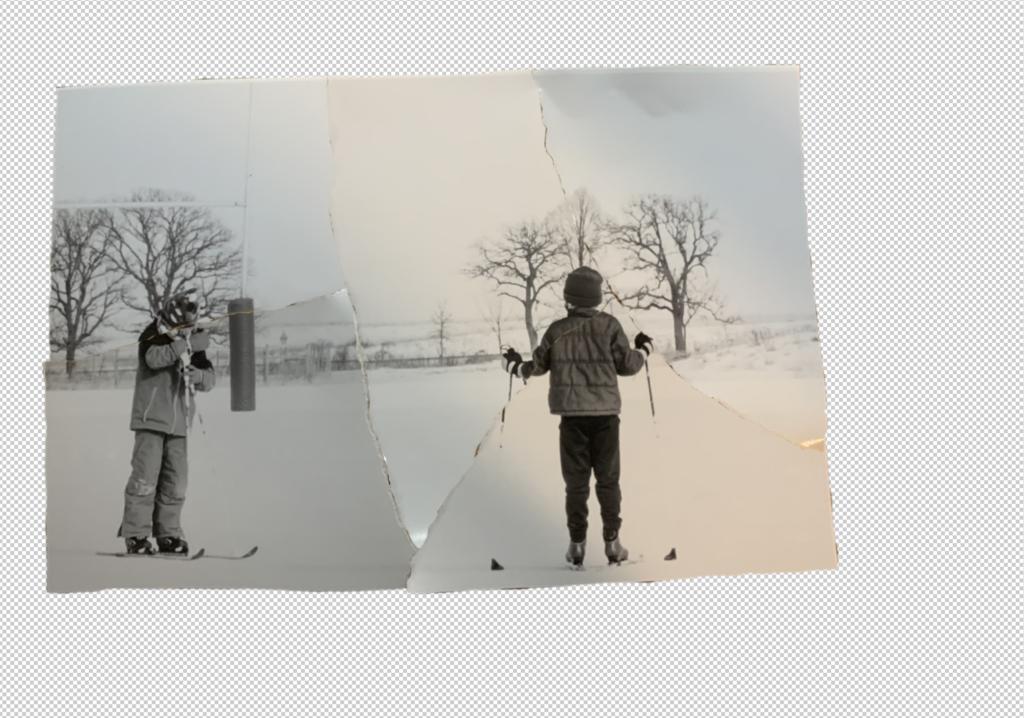
In the layer panel, select all layers by clicking on each layer and pressing the “command” key. Then right-click to go to the options menu and select “Merge Layers.” This will group the individual layers into one layer so that you can move the entire picture as a group.
Now we got our photo back in one piece! But, we can still improve the image.
Step 4: Fix the ripped parts
Select the “Spot Healing Brush Tool” from the icon with the bandaid and click on the ridges that you want to smooth out. You can also use the “Healing brush tool” which allows you to select a spot with the “option” key on your keyboard and replace the spot you want to erase with the spot you selected with the “option” key.
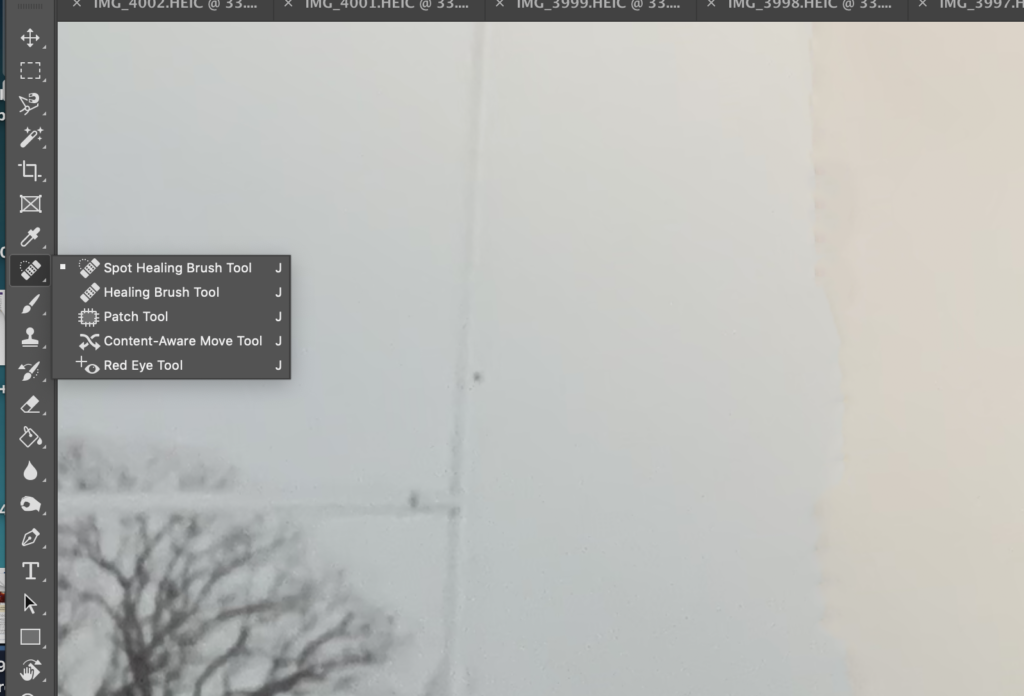
Here’s a before and after photo of how it works.
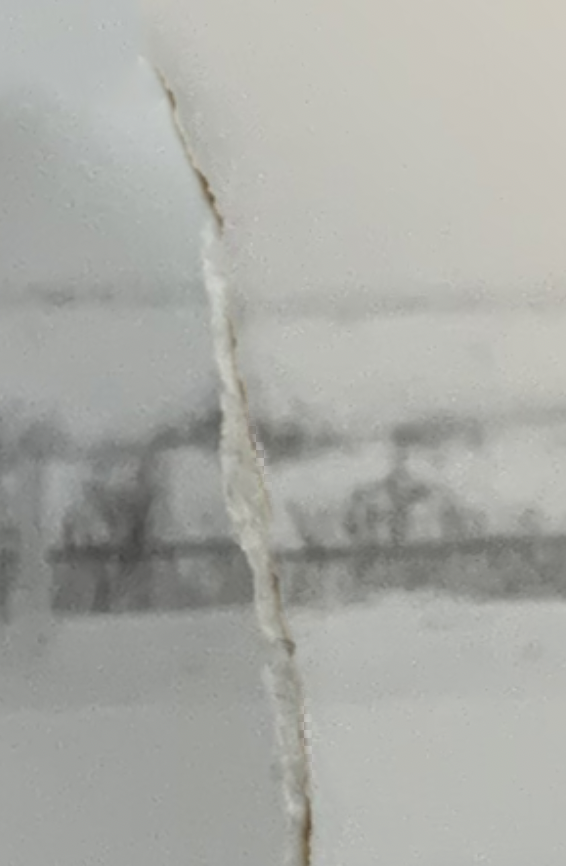
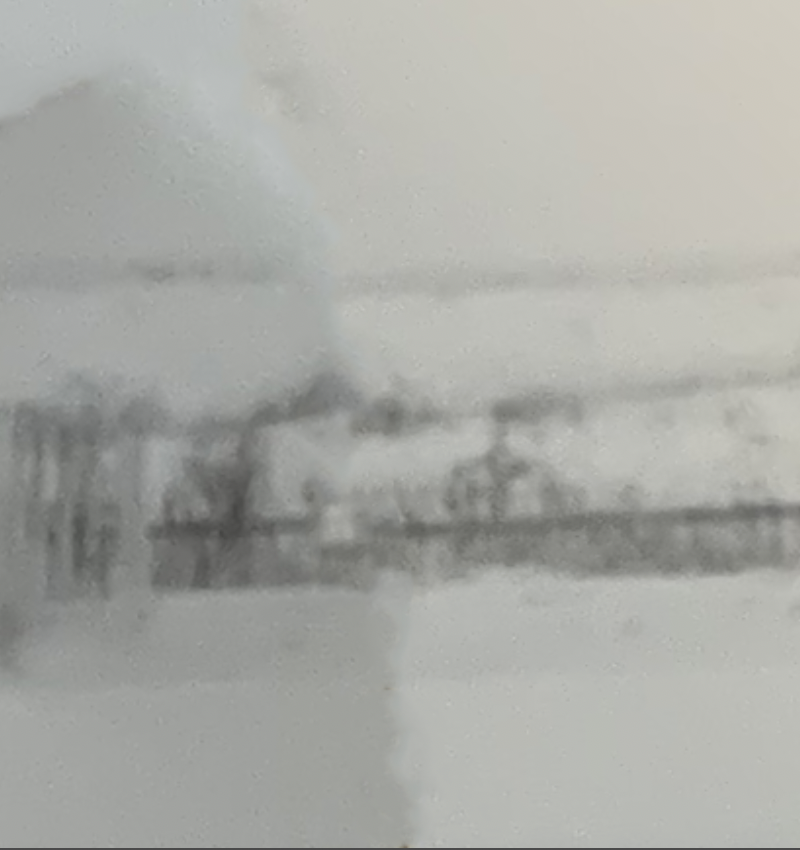
Repeat this process for all of the ridges that you want to fix.
Step 5: Admire your perfectly imperfect repaired image!
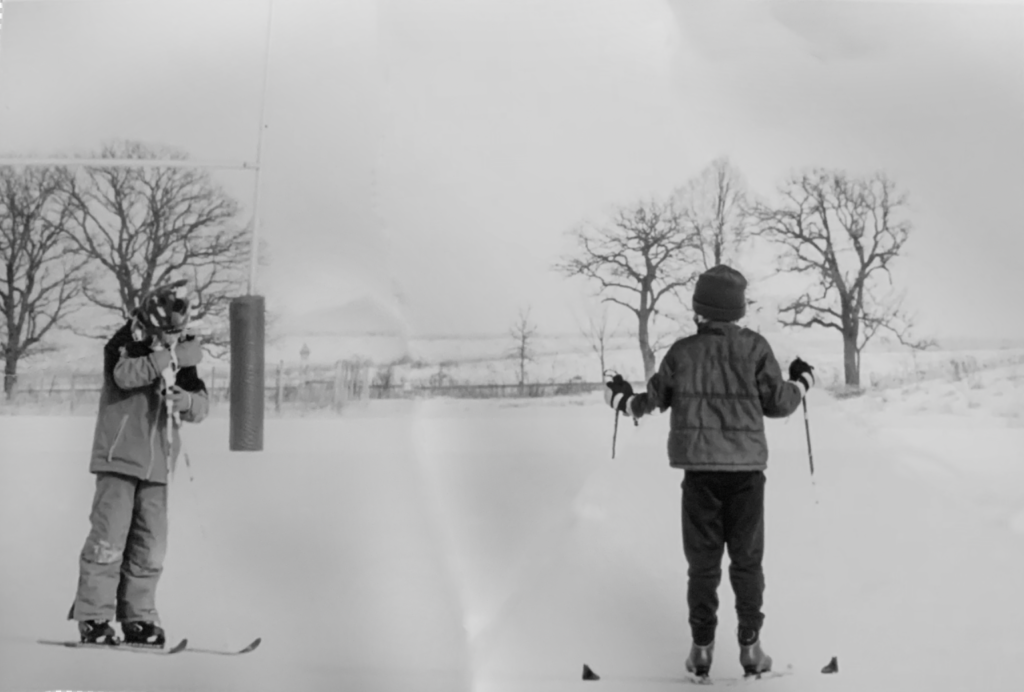
You can also do more improvements, but that might be a bit more complicated for new users. I’ll end the tutorial here, but other resources demonstrating this technique are listed below.
Using Photoshop: https://design.tutsplus.com/tutorials/how-to-restore-a-heavily-damaged-photo-with-photoshop–psd-30893
There are some professional services that would do them for a price for extremely damaged images: https://www.scancafe.com/services/photo-restoration

