My group’s final project involves making 3D models of Carleton’s mascots, and one of them is the elusive Schiller. Since we don’t have Schiller on hand and can only use several sparse photos of the bust found online, I searched for a program that could take one photo and turn it into a 3D model. This search proved to be rather futile though in that the sole website (smoothie 3D) that was said to have this capability appears to be defunct now with a pop-up asking for donations of euros blocking any of the site’s functions. So I ended up trying out Blender.
Blender is a 3D modeling program that when equipped with the FaceBuilder add-on can turn photos of a face into a 3D model. In my case, I attempted to use this program and the add-on to create a 3D model of Schiller’s face from the few photos I could find. It turned out to be far from perfect. Around seven photos are typically needed to provide the full views of the face, but I only had two to work with. And Schiller’s flowing locks were also excluded from the model. But in other contexts with access to better photos, I’m sure Blender could be incredibly useful for creating 3D models of historical figures. And from my attempt, it seems that Blender with the FaceBuilder add-on is also capable of processing non-human faces such as Schiller’s bust. So Blender could also be useful in creating 3D models of sculptures.
And with that said, here is my very rudimentary tutorial:
Steps
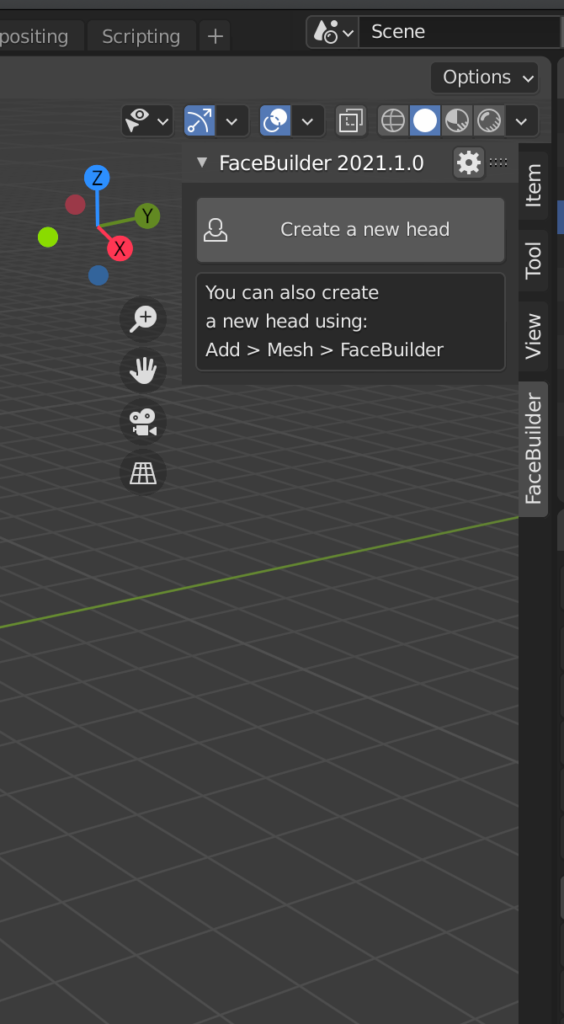
1. Create a New Head
On the right side of the screen, navigate to the FaceBuilder section and select “create a new head.”
2. Add Images
Next, select “add images” to import your photos.

3. Pinning
After selecting “create a new head” and adding your desired images, the next step in actually creating your model is pinning. Select one of your images from the “Views” section and then you’ll see a face superimposed on your image. Click and drag the red dots and blue features (ears, mouth, eyes) so that this face completely aligns with the face from your image. Repeat this for the rest of your images.


4. Texture
Navigate to the “Texture” section below and hit “create texture” to generate the texture on your model from the photos.

5. Export
The final step is exporting your model! Export your model by going to File > Export, and you can export it as an obj file. You will also have to separately export your texture file through the “Texture” section.

And in case my tutorial wasn’t enough… here are some…
Links to Better Tutorials
The site that guided me (it also goes through how to install the FaceBuilder add-on)
Other tutorials (these cover the other functions in Blender separate from the FaceBuilder add-on)
This is so cool, Wyen! Thank you for helping our group solve the Schiller problem :O Just a quick question: can we re-integrate the obj and texture files after exporting them?
Yeah, we most certainly can as long as they are located in the same folder/area!